
Whether you forgot your tools or brought a bulky multi-tool that gets in the way, the Switch System is your go-to solution—so you can focus on the ride, not the repairs.
With its detachable lever that stays onboard, the Switch System ensures you're always prepared for quick adjustments, roadside fixes, or even cracking open a cold one after a long ride.
Many leading bike brands have already integrated the Switch System into their builds. Any thru axle marked with the Switch logo is compatible with Switch Levers. You can run a Switch Thru Axle as a standalone unit or pair it with one of our multi-functional levers.
On the Lever:
-
Built-in slots for roadside adjustments
-
Beer opener and more
-
Choose your own hex bit (Hex 2–Hex 6) depending on your needs—while still using the 6mm interface for wheel removal
Wondering if your current axle is Switch-compatible?
Check for a small rubber O-ring inside the hex of your axle—that’s a good sign it works with Switch Levers.
Installation Instructions
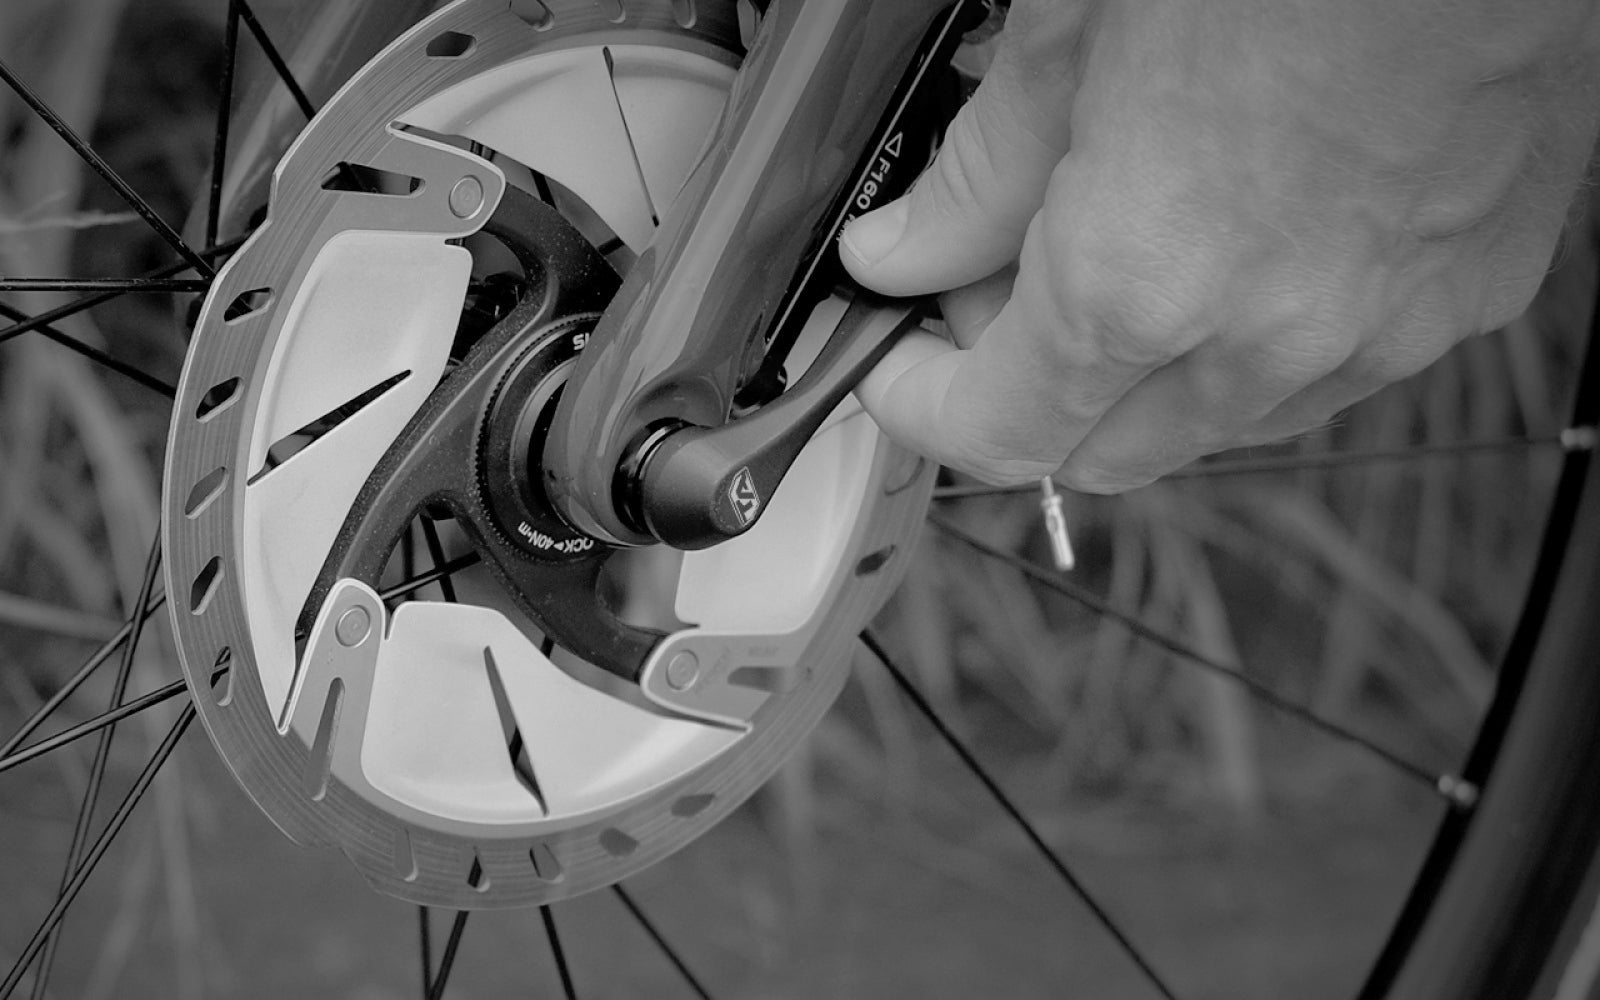
Installing the Axle:
-
Align the hub and slide the thru axle through the frame and hub.
-
Tighten by turning clockwise using either a Switch Lever or a 6mm hex wrench. Torque to 10–12 Nm.
Setting the Lever Angle:
3. If using a Switch Lever, pull it out and reposition it to your preferred angle.
4. Fully reinsert the lever—it will remain secure during riding.
Removing the Axle:
5. Turn counterclockwise using the Switch Lever or a 6mm hex wrench.
6. Once unthreaded, pull the axle out completely with the lever, and remove the wheel from the frame.